
Welcome to this step-by-step guide on changing your site icon in WordPress block themes!
If you want to add a personal touch to your website and improve your brand identity, updating your site icon, also known as a favicon, is a simple yet impactful customization.
A site icon is a small image in browser tabs, bookmarks, and other places.
It’s crucial for your brand identity because it helps visitors quickly recognize and differentiate your site from others.
A well-designed site icon reinforces your branding and ensures a consistent visual identity across the internet.
Step One: Log into WordPress
Open Your Browser and Go to Your WordPress Login Page:
Typically, this will be something like yourwebsite.com/wp-admin.
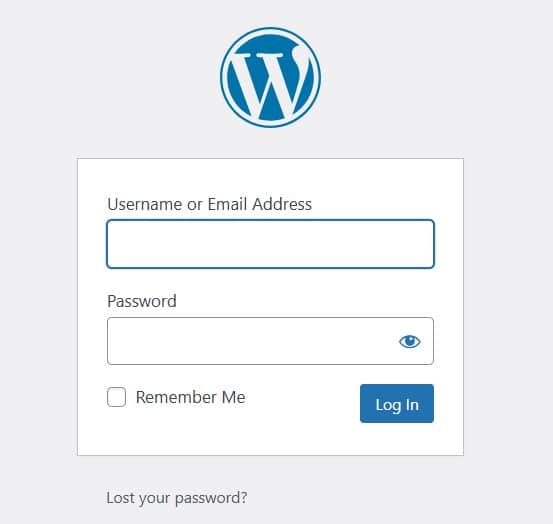
Enter Your Username and Password:
Use the credentials you set up when you installed WordPress.
Click the ‘Log in’ Button:
This will take you to your WordPress admin dashboard, the central hub for managing your website.
Navigate to the Dashboard:
Once logged in, you will see the main dashboard screen, where you can access all the settings and options to customize your site.
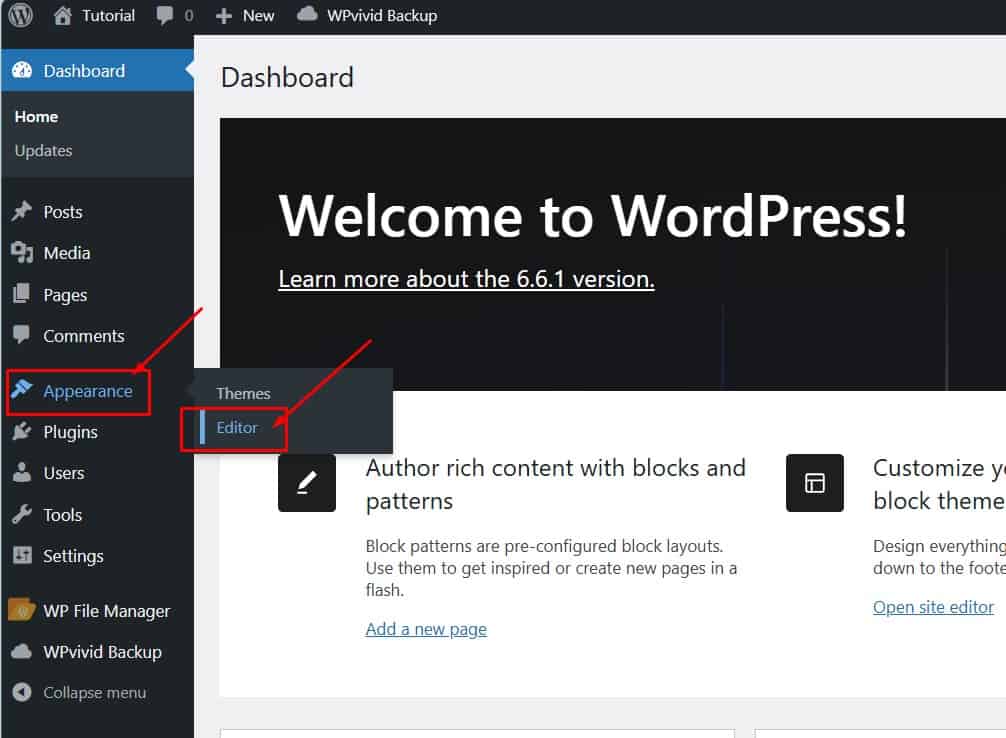
Step Two: Navigating to the Site Editor
After logging in, you will be on the main dashboard screen.
Locate the ‘Appearance’ Menu:
In the left-hand sidebar, find the ‘Appearance’ menu option.
Hover Over ‘Appearance’ and Click ‘Editor’:
Hover your mouse over ‘Appearance’ to reveal a submenu, then click ‘Editor’.
This action will open the site editor where you can edit your site’s layout and design.
Step Three: Accessing Patterns
Once in the site editor, you will see many options to customize your site.
Find the ‘Patterns’ Option:
In the site editor menu, look for ‘Patterns’. This option is in the left-hand panel.
Click on ‘Patterns’:
Click on ‘Patterns’ to open a selection of pre-designed layout elements that you can use to customize your site.
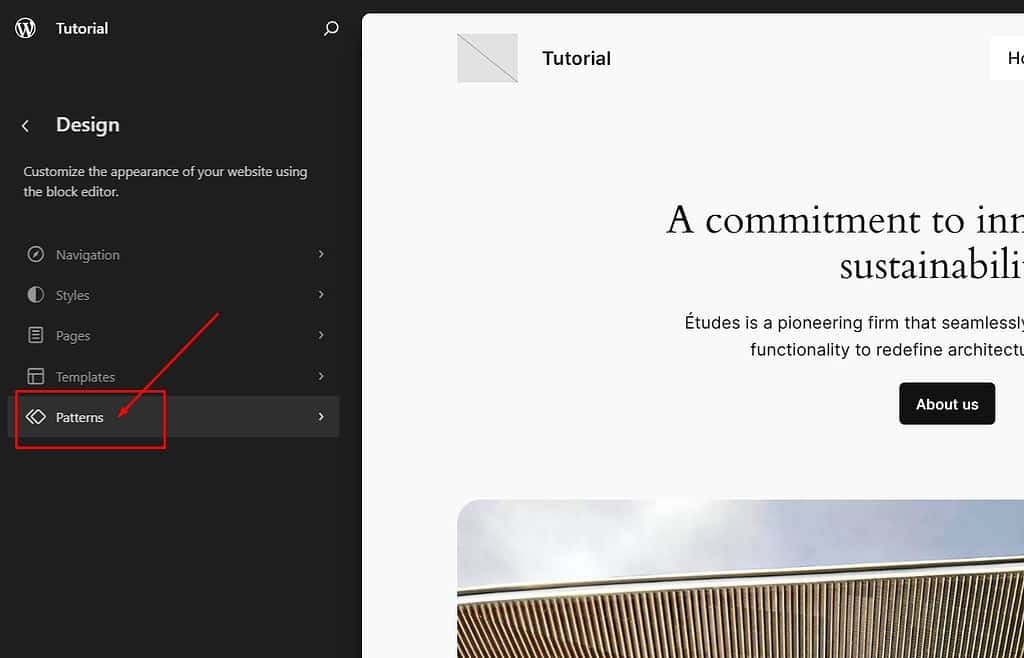
Patterns can include sections like headers, footers, and other common design elements, making building a cohesive site layout easy.
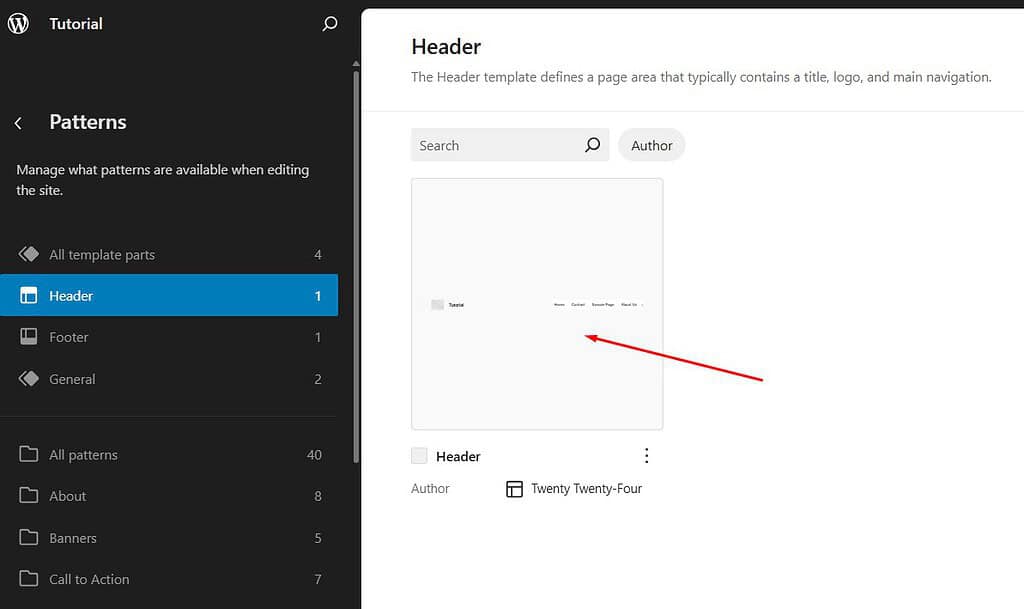
Step Four: Selecting the Header
Select the ‘Header’ Pattern:
Scroll through the available patterns until you find the ‘Header’ section.
Click on it to view the different header designs.
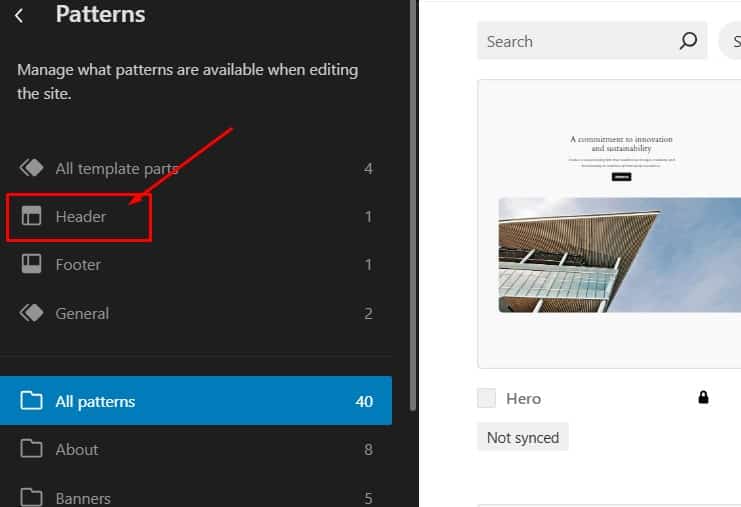
Choose and Edit Your Header:
Select the header pattern to edit text, images, and other elements.
Step Five: Adding the Site Logo Block
Locate the Add Site Logo Icon:
Within the header pattern, find the ‘Add Site Logo’ icon.
Select the Icon:
Click on the icon to open the editing options.
Step Six: Uploading and Choosing Your Logo
Open the Media Library:
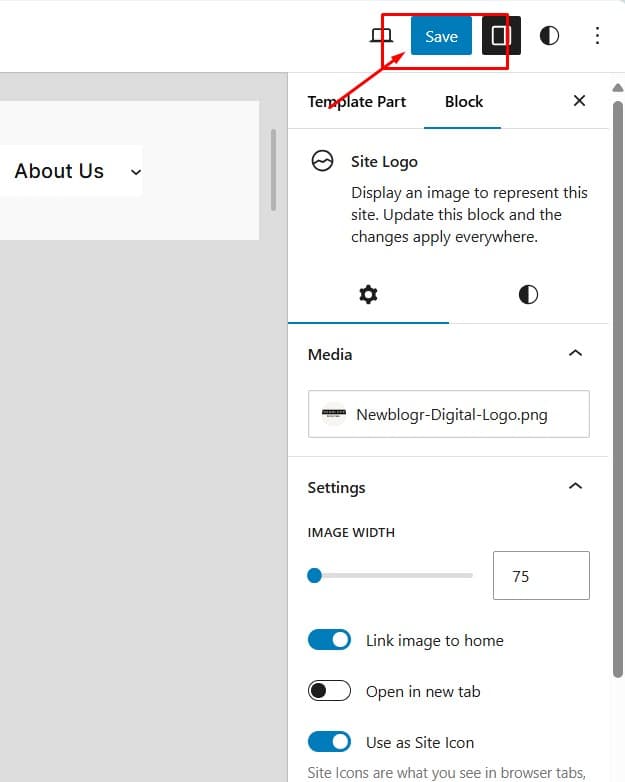
When you click on the ‘Add Site Logo’ block, an option to add media appears in the sidebar.
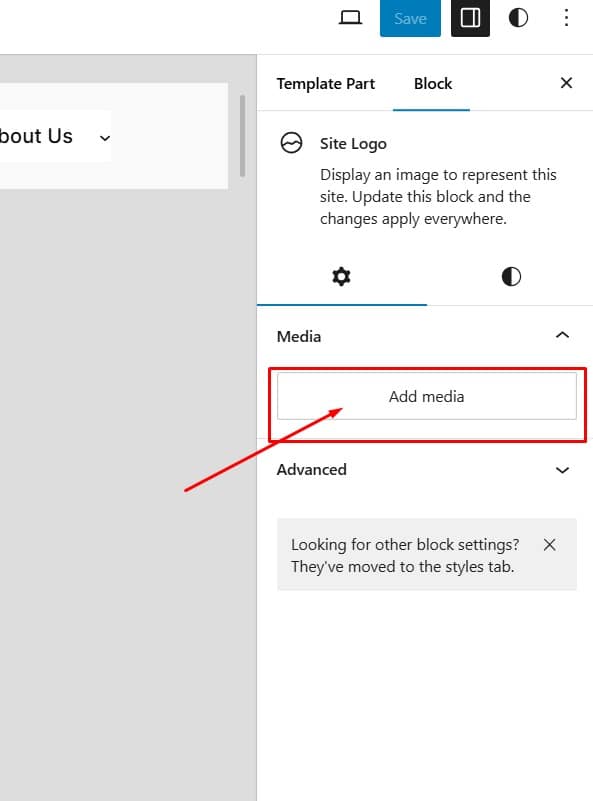
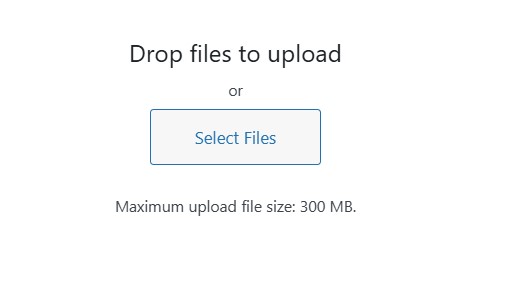
Upload a New Logo:
Click the ‘Add Media’ link to upload a new logo.
Choose the logo file from your computer and upload it to the media library.
Choose an Existing Logo:
If you already have a logo in your media library, select it from the available images.
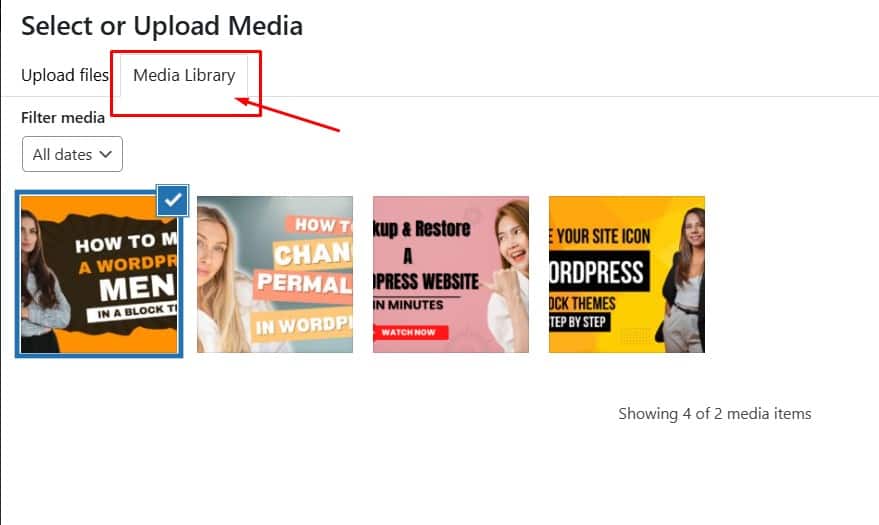
Set the Logo as Site Icon:
After selecting or uploading your logo, ensure you toggle the ‘Use as Site Icon’ option to make it your site’s favicon.
Step Seven: Saving and Viewing Changes
Save Your Changes:
Click the ‘Save’ button in the site editor to apply all your changes, including setting the site icon.
Refresh Your Website:
Visit your website or refresh the current page to view the new site icon in action.
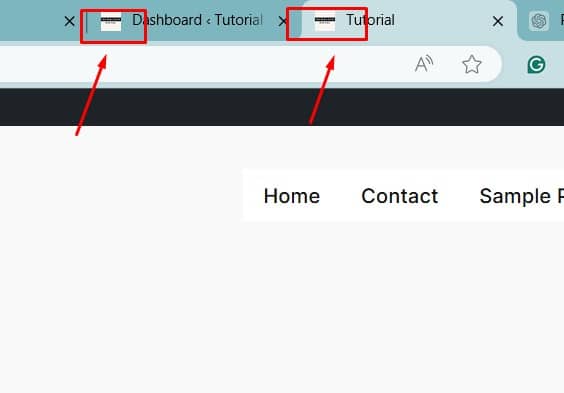
Verify the Update:
Check the browser tab and bookmarks to ensure the new site icon is displayed correctly.
Video Tutorial
Alternative Method: Uploading a Different Image for Your Site Icon
For those who don’t want to use their site logo as the site icon, follow these steps to upload a different image.
Accessing Site Icon Settings:
Log into your WordPress admin dashboard.
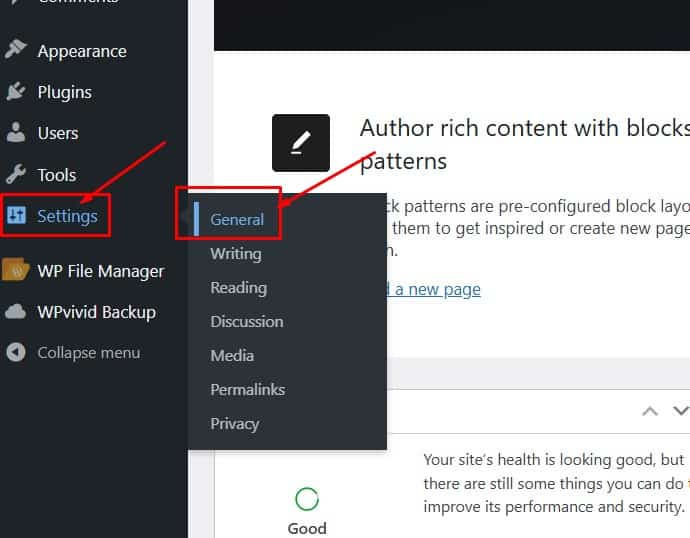
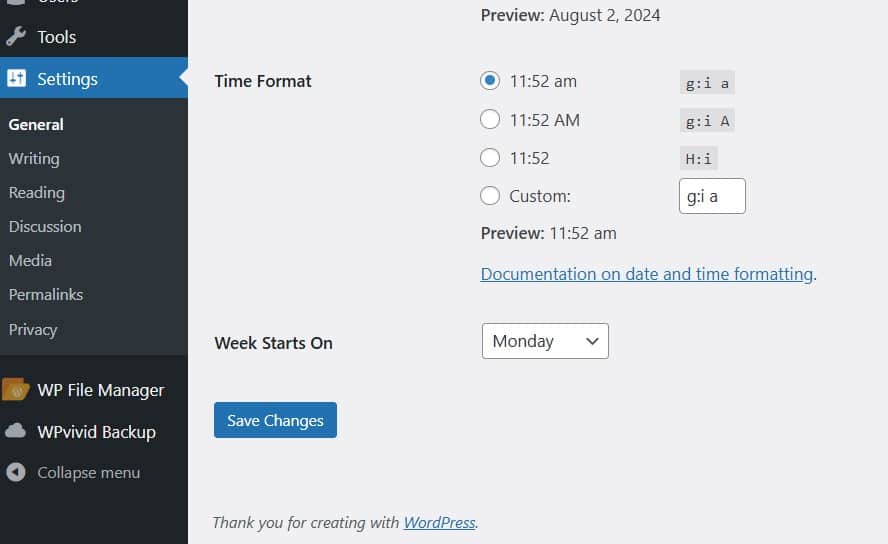
Navigating to General Settings:
Hover over ‘Settings’ and click ‘General’.
Uploading a Site Icon:
Click the ‘Change Site Icon’ button to open the media library.
Choosing an Image:
Upload a new image or select one from your media library.
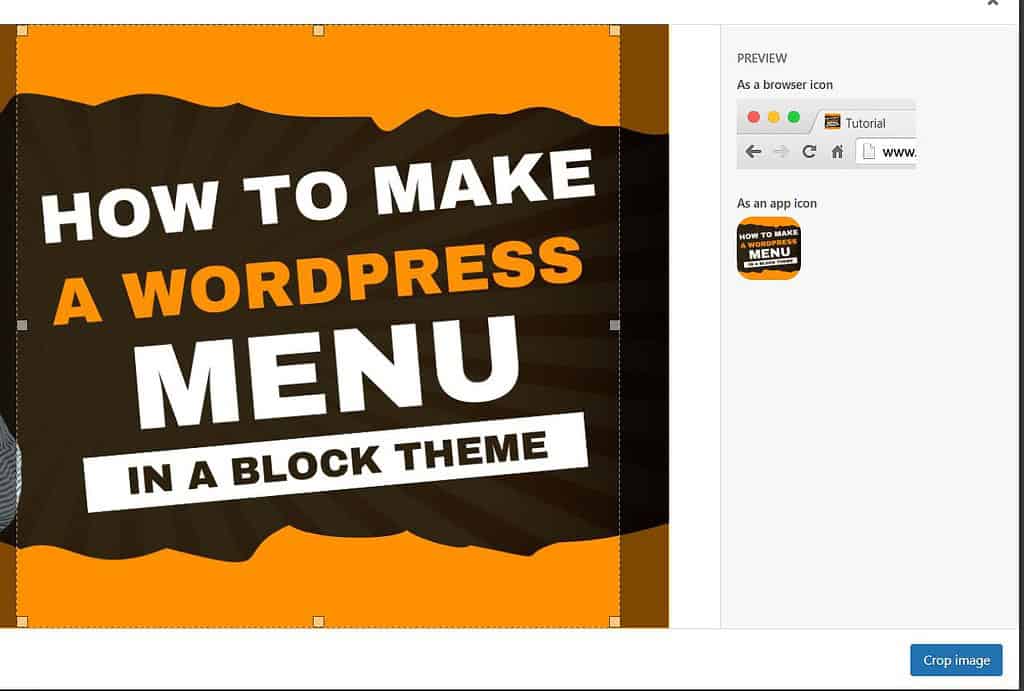
Ensure the image is clear and recognizable even at small sizes (512 x 512 pixels is recommended).
Setting the Image as Site Icon:
After selecting, crop the image.
Save your changes by clicking the ‘Save Changes’ button at the bottom of the page.
Verifying the New Site Icon:
Refresh your website to see the new site icon in action.
Check browser tabs and bookmarks to ensure the new icon is displayed correctly.
This method allows you to have a distinct image as your site icon, separate from your site logo, providing more flexibility in your site’s branding.
Conclusion
We have covered logging into WordPress, navigating to the site editor, selecting and editing the header, adding and setting the site logo, and saving your changes.
Ensure your site icon is simple, clear, and instantly recognizable.
Check out my other WordPress tutorials and YouTube channel to help improve your WordPress skills.
If you found this guide helpful, please leave a comment. Your support helps me create more valuable content.
Are you interested in further customizing your WordPress site?
Check out our guide on how to add custom fonts using the FSE Block Editor.
This tutorial will help you take your site’s design to the next level with unique typography choices.
Starting a website or blog can be overwhelming, especially with the many decisions and technical details involved.
That’s where I come in—let me handle the setup, optimization, and ongoing support to ensure your online success.
About NewBlogr
At NewBlogr, I am passionate about helping individuals and small businesses launch and grow their online presence.
I specialize in creating custom WordPress websites, offering domain and hosting setup, essential SEO, and continuous support to help you achieve your goals.
My dedication to excellence comes from a desire to see my clients succeed.
I focus exclusively on website creation and support, providing you with a seamless and stress-free experience from start to finish.
Let me help you build and maintain a professional online presence that attracts and engages your audience.
Want to See How a Professional Website Can Help You?
Key Benefits of Our Service
Effortless Setup
I take care of everything from domain registration to website launch, ensuring a smooth and hassle-free process.
Custom Design
My tailored designs ensure your website stands out and reflects your unique brand identity.
Continuous Support
I offer ongoing assistance and updates, ensuring your website remains optimized and effective.
Getting Started with NewBlogr
1. Contact Us
Reach out through my contact page to discuss your needs and goals. I’ll provide a free initial consultation to understand how I can help.
2. Website Planning and Proposal
I’ll review your requirements and present a tailored plan to create and optimize your website.
3. Implementation and Support
Once you approve the plan, I will develop your website and provide ongoing support to ensure sustained growth and engagement.
What We Offer to Elevate Your Online Presence
- Custom WordPress Website Creation
Develop a high-converting, user-friendly website tailored to your needs. - Domain & Hosting Setup
Assist with selecting and setting up your domain and hosting services. - SEO Optimization
Enhance your site’s visibility and drive organic traffic. - Performance Monitoring
Regularly review and optimize your website’s performance.
- Ongoing Updates
Keep your website up-to-date and functioning optimally. - Resources
Provide tutorials and support to help you manage and grow your website. - Customer Support
Offer continuous support to address any issues or updates. - Tailored Strategies
Customize our services to meet your specific goals and needs.
Leave a Reply